F5 Programmability Training > Class 1: Introduction to Automation & Orchestration > Module 3: Deploying AS3 Declarations with Ansible Tower Source | Edit on
Lab 3.1: Ansible Tower Onboarding
In this lab we will use the Runner, introduced in previous labs, to complete the onboarding of the Ansible Tower device. The onboarding process creates the initial configuration required to start utilizing Ansible Tower with BIG-IP.
Ansible Tower Overview
Before looking at the details of the onboarding process, let’s discuss the new components Ansible Tower introduces to our toolchain. Some of the components are general Ansible terms and not specific to Tower. As mentioned earlier we will be focusing primarily on the concepts within Tower itself.
Ansible Tower Term Reference
- Inventory: Device(s) to perform action against. In this lab we will be using bigip_a_mgmt as the inventory object.
- Playbook: A group of plays/tasks to be performed against devices within the Inventory.
- Project: A collection of Ansible Playbooks within tower. In this lab were are using a GIT Repo to store the playbooks.
- Templates: A template provides the ability to supply parameters to a playbook. Templates are what will provide the Abstraction to AS3.
- Credentials: Used to authenticate Tower to the destination device within the Inventory.
Role Based Access Control (RBAC)
Ansible Tower provides a control hierarchy with the terms below:
- Organization (AS3 Tenant): An organization is a logical collection of Users, Teams, Projects, and Inventories. It is the highest level in the Tower object hierarchy.
- Team: A subdivision of an organization with associated Users, Projects, Credentials, and Permissions.
- User: A User is usually associated with a Team to allow for group based RBAC control.
Example of the RBAC structure being used in this lab:
- Tenant1 (Organization)
- T1-Admins (Team)
- T1-admin-user (User)
- T1-Ops (Team)
- T1-ops-user (User)
- T1-Admins (Team)
Source-of-Truth
As discussed in Module 2, it is key to keep source-of-truth in mind as Tower will be making changes through F5’s declarative AS3 interface. For this lab we have created an AS3 declaration (source-of-truth) file for each of the primary Service Examples from the previous Module. The intent here is to demonstrate the ability of Tower to manage and push source-of-truth declarations from within its Project (GIT SCM).
Onboarding Process Overview
The process implemented in the Lab 3.1 - Ansible Tower Onboarding folder of
the Postman collection is outlined below. The items will be done
automatically for you during Task1.
- Token Authentication
- Setup RBAC
- Create Organization Tenant1
- Create Teams ( T1-Admin / T1-Ops )
- Create Users ( T1-admin-user / T1-ops-user )
- Associate Users to their respective Teams
- Create Tower Project SCM
- Create Tower Inventory
- Create Tower Inventory group
- Create Inventory Host (The BIG-IP we will be manipulating)
- Associate the Host to the Inventory group
- Create Tower Credentials to Authenticate to the BIG-IP
- Create Job Templates
- Deploy Config (POSTS AS3 Declaration to BIG-IP)
- Add Pool Member to Pool
- Remove Pool Member from Pool
- Replace All Members in a Pool
- Update the SSL CRT/KEY for a Virtual
- View Current Config on AS3 Tenant
- Create Tower Survey for each Template (Ability to collect Variables)
- Associate each Template above with the Following RBAC Team/Role
- Admins
- Deploy Config
- View Current Config
- Operations
- Add Pool Member
- Remove Pool Member
- Replace Pool Members
- Update SSL CRT/KEY
- View Current Config
- Admins
Task 1 - Onboard Ansible Tower using Runner
In this task we will use the Runner to execute a series of
requests contained in the Lab 3.1 - Ansible Tower Onboarding folder.
Perform the following steps to build the cluster:
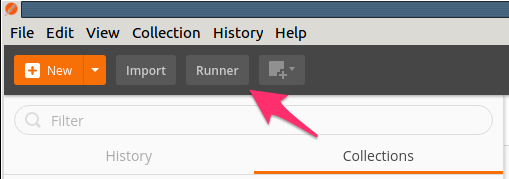
Click the Runner button at the top left of your Postman window:
Select the
F5 Programmability: Class 1Collection then theLab 3.1 - Ansible Tower Onboardingfolder. Next, be sure the environment is set toF5 Programmability: Class 1: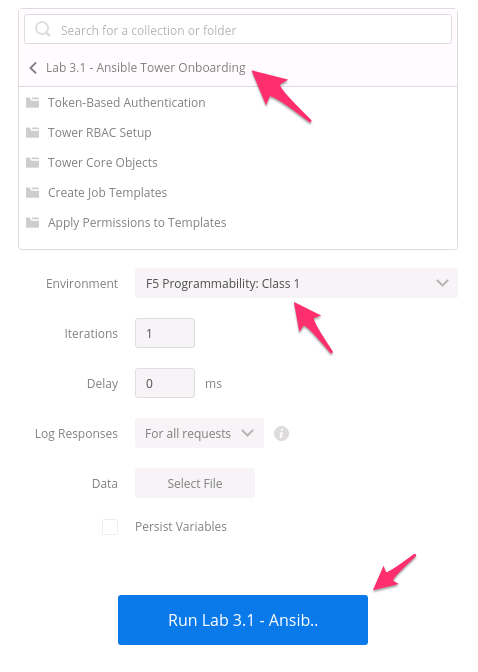
Click the Run Lab 3.1 - Ansib… button.
The results window will now populate. You will see each request in the folder is sent and it’s associated test results are displayed on the screen. Onboarding Ansible Tower will take about a minute. You can follow the progress by scrolling down the results window.
Once the Run Summary button appears the folder has finished running. You should have 0 failures and the last item in the request list should be named
Step 6: Permissions (Pool Member Del Ops).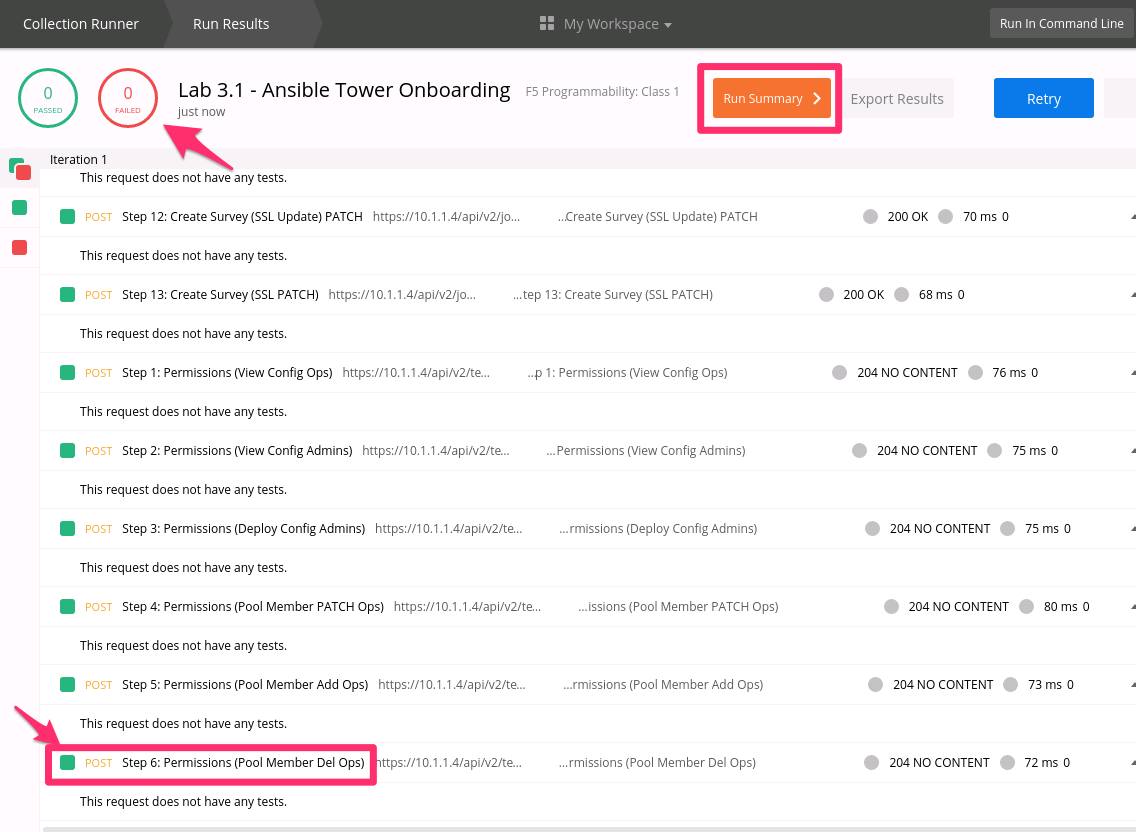
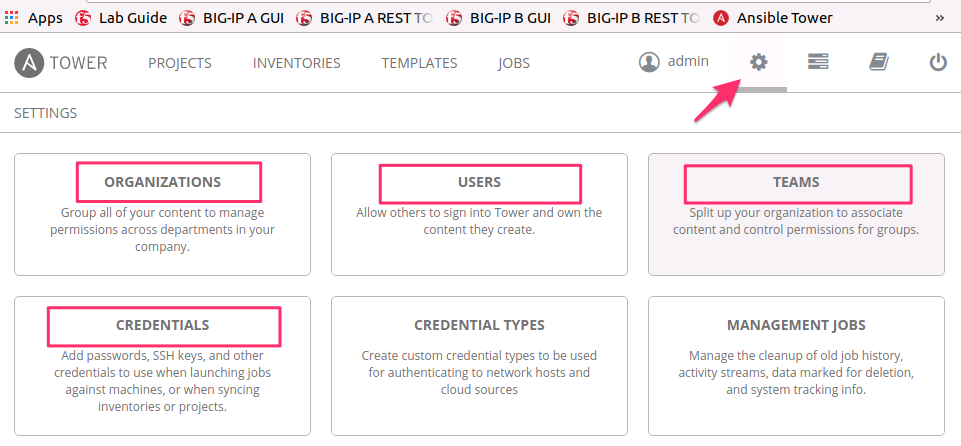
At this point you can log into Ansible Tower using Chrome at
https://10.1.1.12andadmin/admincredentials. Browse the main UI tabs to see the different topics covered at the top of this lab (Projects, Inventories, Templates, etc).
Select the Settings Icon in the top right corner to view the RBAC items that were created such as Organization, Teams, Users, and Credentials.